Findings
A finding is one vulnerability in one installed package on one asset. A container image that runs in several pods is one asset, so its findings are listed once, with every place it runs. The Findings page lists them all, and is where you decide what to fix first.
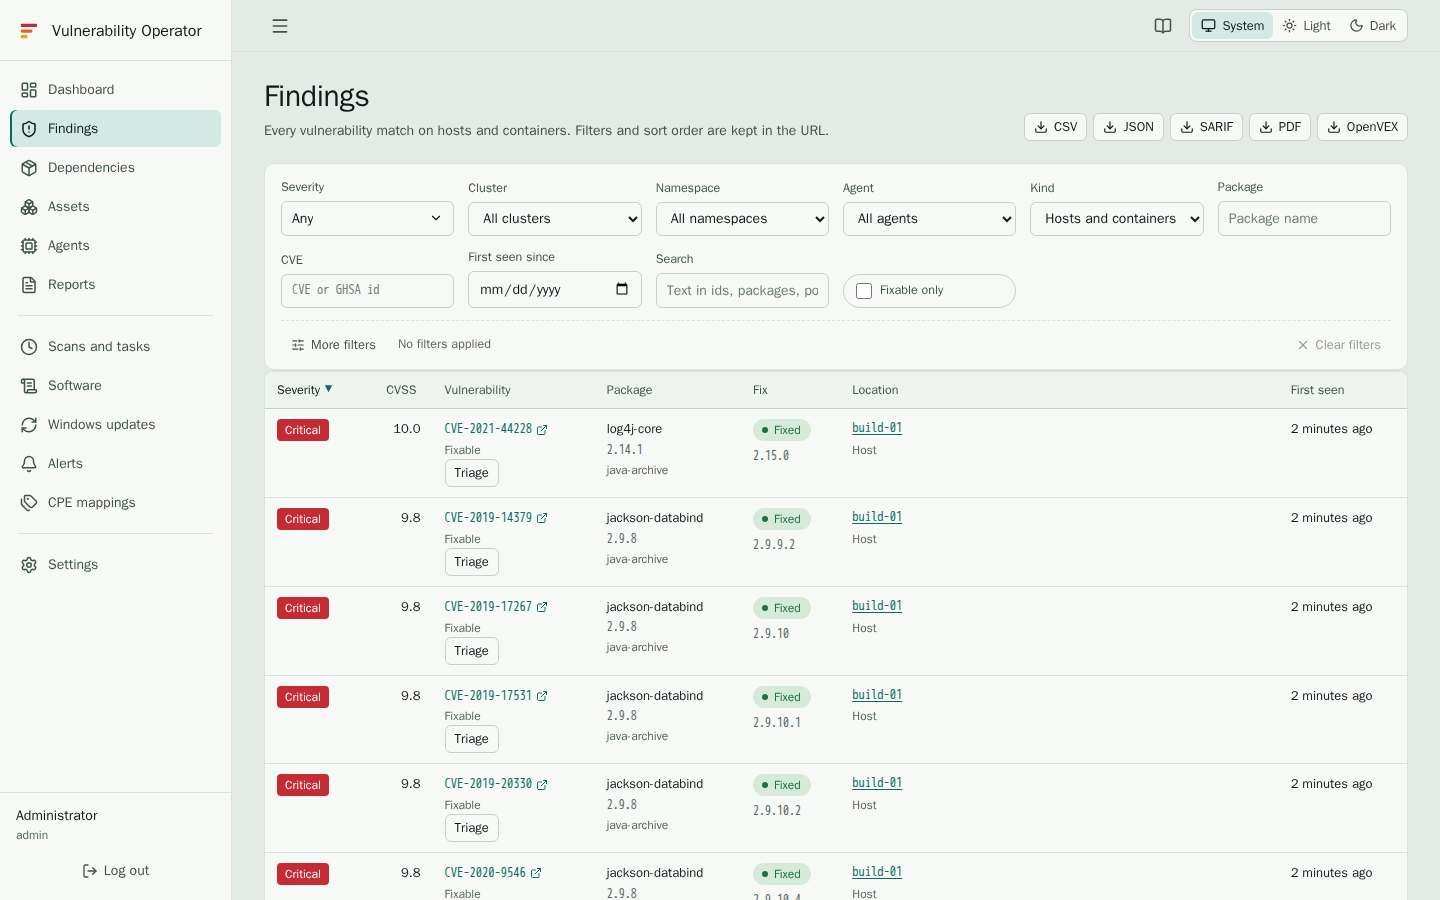
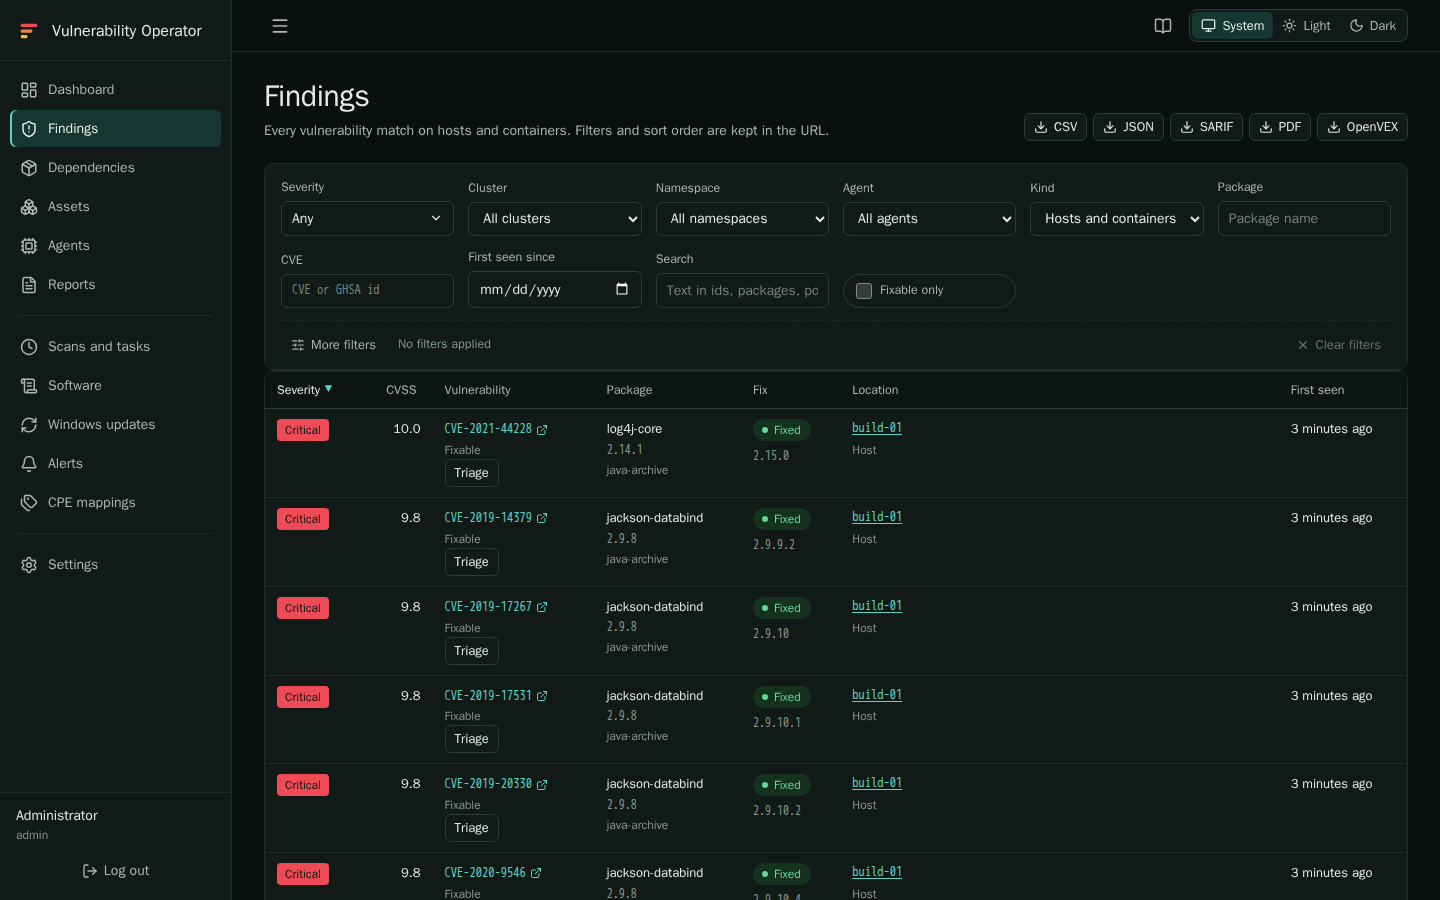
Reading the table
| Column | Shows |
|---|---|
| Severity | The severity level, from critical to unknown. Select the heading to sort. |
| CVSS | The base score, when the data has one. |
| Vulnerability | The identifier, such as a CVE- or GHSA- number. It links to the entry of the vulnerability at its source, in a new tab. |
| Package | The package name, its installed version and its type. |
| Fix | The fix state: the version to upgrade to, or why there is none. |
| Location | Where the package is: the host, or the cluster, namespace, pod, container and image. Select it to see the dependencies of that host or container. |
| First seen | The first scan that reported this finding. |
The Fix column tells you the next step. Fixed shows the version to upgrade to. See Key concepts for each state.
Under the identifier, two signs help you rank the work:
- Exploited (KEV): CISA lists the CVE in its Known Exploited Vulnerabilities catalog. Fix these first.
- EPSS: the chance of exploitation in the next 30 days, from FIRST. Sort by EPSS to see the likeliest exploits first. The scores are refreshed once a day.
Triage
Users with the findings.triage permission see a Triage button on each row.
Use it to record what you decided:
| Status | Meaning |
|---|---|
| Open | Nobody has decided yet. Use it to set only an owner or a ticket. |
| Under investigation | Someone is looking at it. |
| Affected | The package is affected, and the note says what to do. |
| Fixed | The fix is in place, but the scan has not seen it yet. |
| Not affected | The vulnerable code is not in use. Pick the justification. |
A Not affected finding leaves the list, the exports and the alerts. Its decision stays on the server, so the next scan does not bring it back. To show the decisions again, remove the decision on the API; see the API reference.
Each decision can also name an owner and a ticket link. The server does not open tickets for you: create the ticket in your tracker, then paste its link.
Filtering
The filter bar works like the one on the dashboard. Use it to answer questions such as:
- Which critical findings in production can be fixed today? Set Severity to critical, Cluster to the production cluster, and select Fixable only.
- What is new this week? Set First seen since to seven days ago.
- Where is log4j? Enter
log4jin Package, or search for a CVE in CVE. - What does this host carry? Set Kind to hosts and Hostname to the host name.
Search looks at identifiers, package names and pod names at once. Use it for a quick lookup; use the dedicated fields when you need exact matches.
Sorting and paging
Select a column heading to sort by it, and select it again to reverse the order. The table is split into pages; the number of matching findings is shown above it.
Empty results
- No findings yet: no agent has sent an inventory, or no scan has run since. Check the Assets page for Scan pending.
- No findings match these filters: remove a filter, or select Clear filters.
Export
CSV, JSON, SARIF and PDF export the findings that match the filters. The files keep the same filters, so you can hand over exactly the list you see.
SARIF feeds CI security tabs, such as the code scanning of GitHub. Each finding is a result with its severity as the level. OpenVEX exports the triage decisions instead, so other tools can read which findings are not affected, fixed or under investigation. For an export that you can repeat later, create a report from the same filters; see Reports.
Next steps
Select a location to open the Dependencies of that asset, and from there the package with its full list of assets and findings.